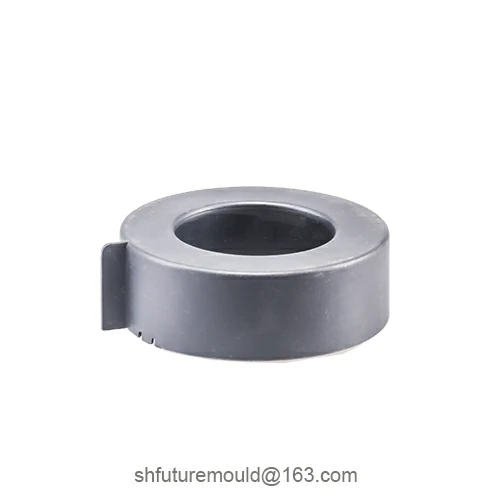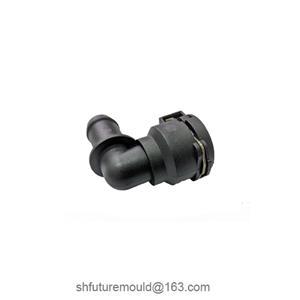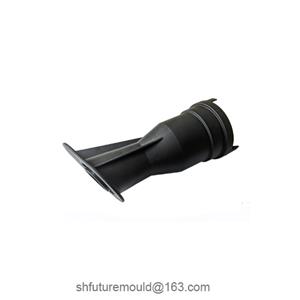
Plastic Mold Installation Process on Injection Machines
In the installation process of plastic molds on injection machines, it is essential to strictly follow standard operating procedures to ensure safety, efficiency, and accuracy.
Preparation Work
1. Inspect the Mold
Verify that the mold’s appearance, dimensions, and functionality meet the required standards. Remove dust, grease, and foreign objects from the mold surface and cavities.
Check the cooling channels, hot runner system, ejector pins, and moving components (such as sliders) for proper operation.
2. Prepare Tools and Equipment
Prepare lifting equipment (e.g., cranes), screwdrivers, positioning pins, lubricants, and other auxiliary tools.
Inspect the injection machine to ensure its working condition. Ensure the worktable, clamping device, and other parts are clean and free from foreign objects.
3. Confirm Compatibility Between the Machine and Mold
Ensure the mold dimensions and mounting holes align with the injection machine's platen.
Verify that the machine's clamping force and injection capacity meet the mold’s requirements.
Mold Installation
1. Secure the Fixed and Moving Molds
Use lifting equipment to hoist the mold above the injection machine, carefully adjust the angle, and align it with the machine's platen.
Place the mold between the fixed and moving platens of the injection machine:
Fixed Mold Installation:
Ensure the fixed mold is tightly attached to the machine’s fixed platen. Secure it with bolts or clamps, ensuring a firm connection.
Install the locating ring to align the mold's gate center with the machine's nozzle center.
Moving Mold Installation:
Ensure the moving mold is tightly attached to the machine’s moving platen and secure it with bolts or clamps.
2. Connect Cooling and Air Lines
Connect cooling water and air pipes (if the mold has pneumatic components) according to the mold design.
Ensure all connections are leak-free and that the water flow is unobstructed.
3. Connect the Hot Runner System
If the mold includes a hot runner system, properly connect the heating cables to the machine's controller. Check that the temperature control system functions correctly.
Mold Debugging
1. Check Clamping Actions
Manually operate the injection machine to slowly clamp the mold, observing the following:
Ensure the moving and fixed mold halves are parallel.
Verify that the ejector pins move smoothly.
Check that sliders and core-pulling mechanisms function correctly.
2. Adjust Clamping Force
Adjust the machine's clamping force to an appropriate level based on the mold’s size and material properties. Avoid excessive clamping force to prevent mold damage.
3. Conduct Test Shots and Adjustments
Load raw material into the hopper and perform test shots. Observe the filling behavior of the molten material and the molded product's quality.
Adjust injection speed, pressure, holding time, cooling time, and other process parameters based on the product's condition.
Confirmation and Documentation
Check the mold's operation during production for abnormalities such as unusual noises or imbalanced movements.
Confirm that the product meets quality requirements. Record the installation and debugging parameters for future reference.
Safety Precautions
Ensure the safety of mold lifting operations by using sturdy slings and hooks.
Prevent hands or tools from being caught in the mold during installation.
Verify that all fasteners are securely tightened and that cooling water and electrical connections are correct before performing mold trials.